How to Create Your Own Website with GitHub and Jekyll
May 13, 2016
This post will serve as a guide on how to create your own website (for free!) using GitHub Pages and Jekyll.
Outline
- Pre-Requisites
- The Website Repository
- Initializing the Jekyll Website
- Basic Site Customization
- Styling your Site (Coming Soon!)
Pre-Requisites
- Create a GitHub account if you haven’t already made one.
- The GitHub Desktop Client downloaded and installed.
- Make sure that you sign in to your github account with the desktop client.
- Install Ruby and Jekyll
Step 1 - The Website Repository
Once you’ve created your GitHub account you’ll need to create a repository which matches the following name:
username.github.io
You should replace username with your own github username.
Example
My GitHub username is “zacblanco”. Thus, my repository name is “zacblanco.github.io”
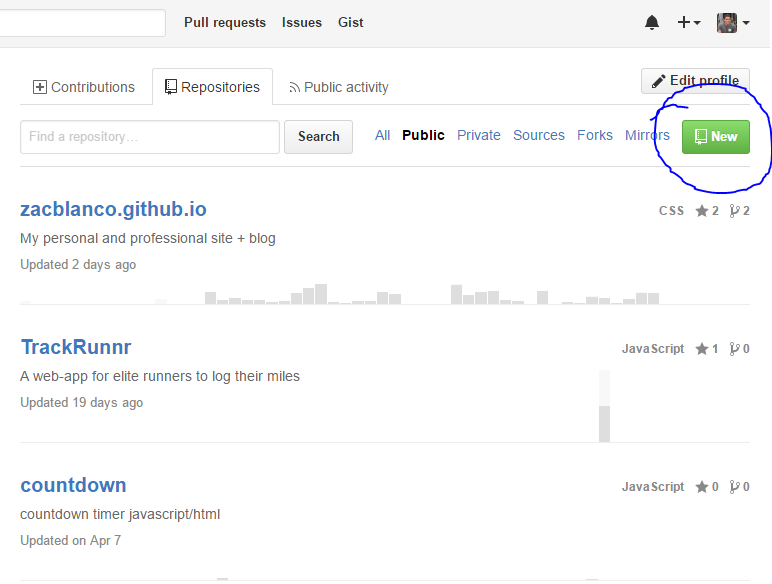
To create the new repository head to your user account page on GitHub and click the New button under the repositories tab.
Step 2 - Initializing the Jekyll Website
Once you’ve created the GitHub repository, you’re going to need to clone it onto your own computer. Make sure that you know where the GitHub desktop client is going to clone your repository on your computer.
You can find this by going to:
- Settings > Options > Clone Path
Make note of this location as you’ll need it soon.
Now open up the GitHub desktop client and clone your newly created repository
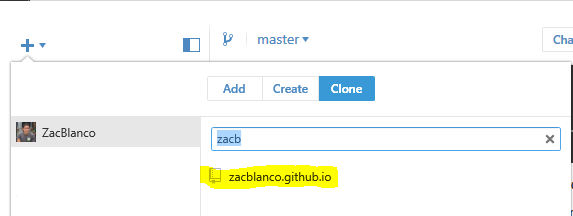
After finishing the clone it should now appear in your desktop client.
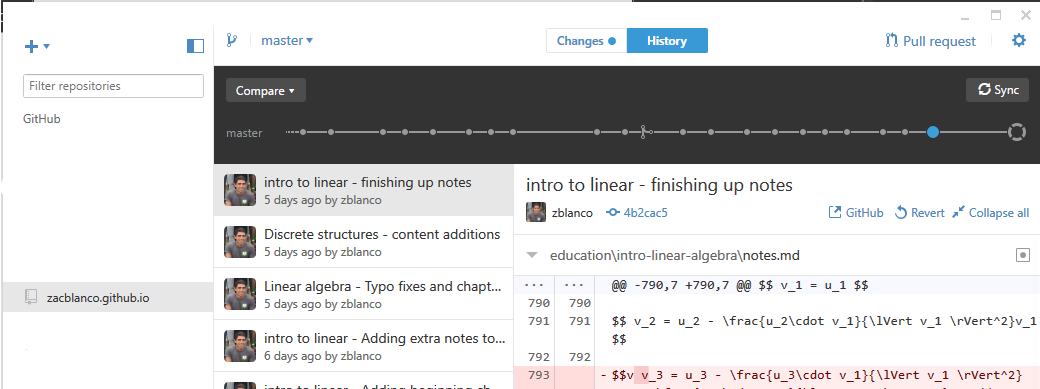
Once you see it in the sidebar, you’ll need to open up a terminal or command prompt window (depending on whether you’re using OS X/Linux or Windows).
Once you’ve opened you’re terminal window you should cd (change directory) into your clone path that you found earlier using the following command:
cd /path/to/cloned/repos
After executing the command we can then initialize a jekyll site in your repository. Run the following command:
jekyll new username.github.io
Just remember to replace username with your GitHub account name.
Congrats! The site should now be initialized.
Once you’ve intialized the site open up the GitHub desktop client. You should see a list of changes similar to the following:
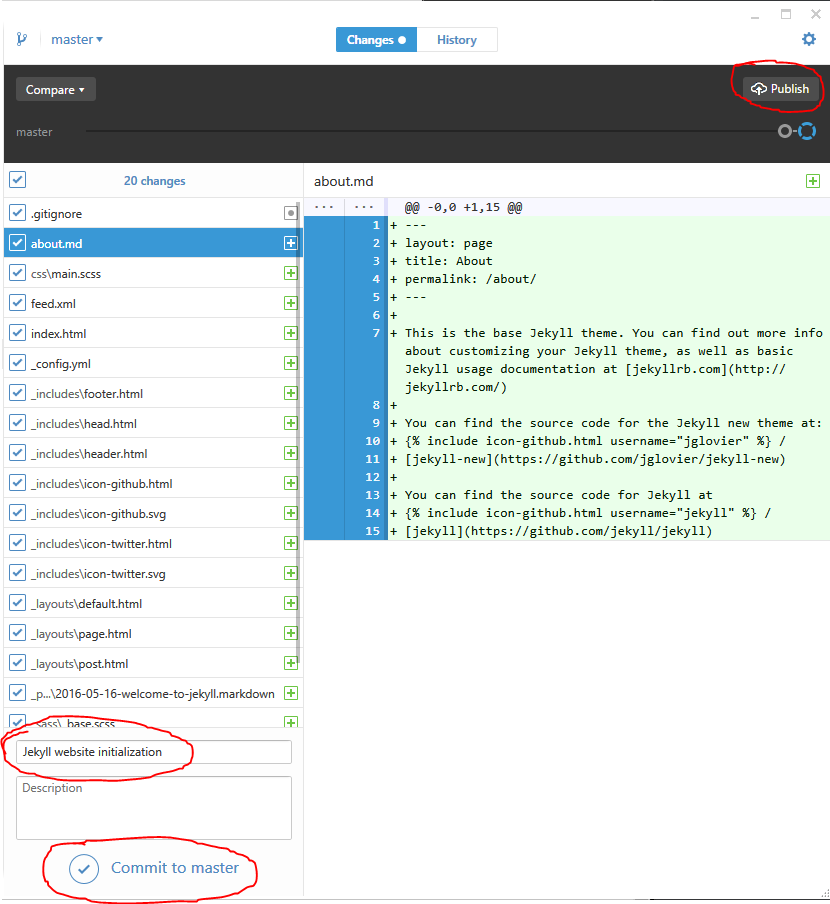
You should then do the following things:
- Write a short, descriptive commit message
- Click Commit to master
- Click Publish
Each part is circled in red on the image above.
Awesome! Once you’ve clicked Publish the site is actually live!
You should be able to see your site at https://username.github.io
If you aren’t able to access your site and/or receive a 404 error, you should try the following steps to resolve your issues:
- Head into your repository directory
- Do this by using
cd username.github.io
- Do this by using
- Run the command
jekyll build
If any error messages appear, try to see if you can resolve them using some google-fu (although I would hope no errors arise when simply intializing the repository).
Once you can access your site via https://username.github.io you can head to the next step.
Step 3 - Basic Customization
Now that our Jekyll site is online we’re going to need to do some customization. This will help you run your site more smoothly and test your site before you push changes to the internet.
First, you should find a file in the repository titled .gitignore (Create this file if it doesn’t exist).
Next, add the following line to the .gitignore file:
_site/*
Adding this line will prevent you from pushing any local site builds to your repository. This generally helps to minimize clutter.
Next you should open the _config.yml file. You can open this file with any text editor you like. Change the fields to match what you want your site to be about.
I recommend at minimum changing the following fields to reflect your site:
- title
- description
- url
- twitter username
- github username
Note - If you are missing any of the fields, simply just leave them blank. Once you customize your site layout more you can remove them from the _config.yml file if you wish.
Once you’ve done that we’re going to test how well the site changes with the configuration changes.
Use your terminal and navigate into your username.github.io directory and run the following command:
jekyll serve
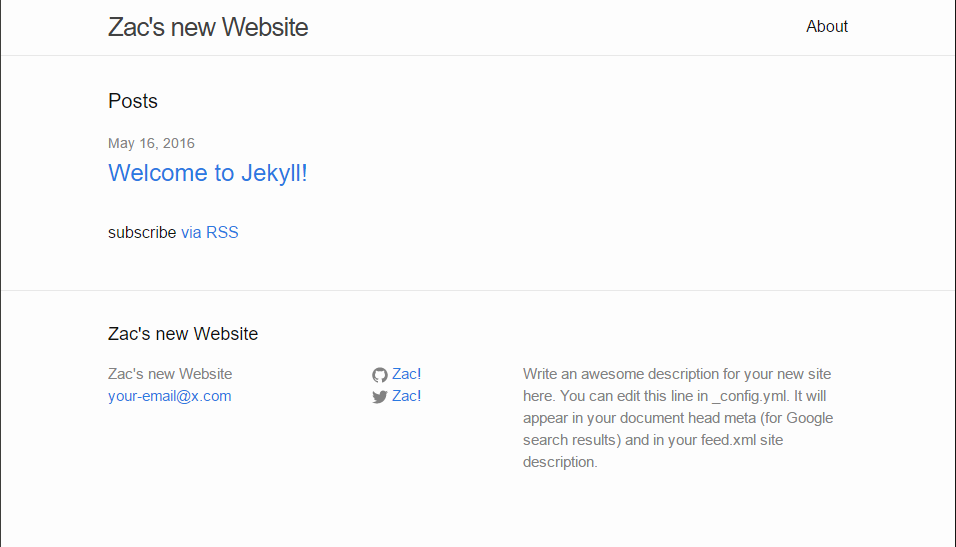
Jekyll will now try to build your site and serve it locally. You can access it (only on your computer) with the address http://127.0.0.1:4000
The last thing you should do here is look in the _posts folder and delete the pre-generated posts that are in there. However, do make note of the metadata which is at the top of the file. You’ll need something similar to it later.
I also highly recommend GitHub’s guide to customizing your pages site
At this point it’s imperative that you familiarize yourself with Jekyll’s features and documentation as well as GitHub pages’ features as well. Below is a curated list of links to some of what I believe to be the most important information about Jekyll.
- What is Jekyll
- Basic Jekyll Usage
- Jekyll Site Structure
- Jekyll Configuration
- Post Frontmatter
- Creating Additional Pages
- Jekyll Variables
- Themes with Jekyll
- Troubleshooting Jekyll
After giving the above links a quick skim you should be up to speed on everything jekyll and can get to customizing your site in the next step!