Configuring A Custom Domain with GitHub Pages
October 29, 2015
This article will tell you how to set up your domain registrar’s DNS records so that you can forward your GitHub Pages site to your newly purchased domain.
It’s actually quite easy to do. The hard part is actually figuring out where to start and which information to put in the records.
Steps
- Purchase domain
- Commit a CNAME File to your GitHub Pages Directory
- Add A Records for GitHub
- Add CNAME record for your GitHub Pages domain.
Step 1
So if you haven’t got your own domain yet, you should head over to places like Google Domains, Cloudflare, or Namecheap.
You can purchase your own domain for as little as $8 per year.
Step 2
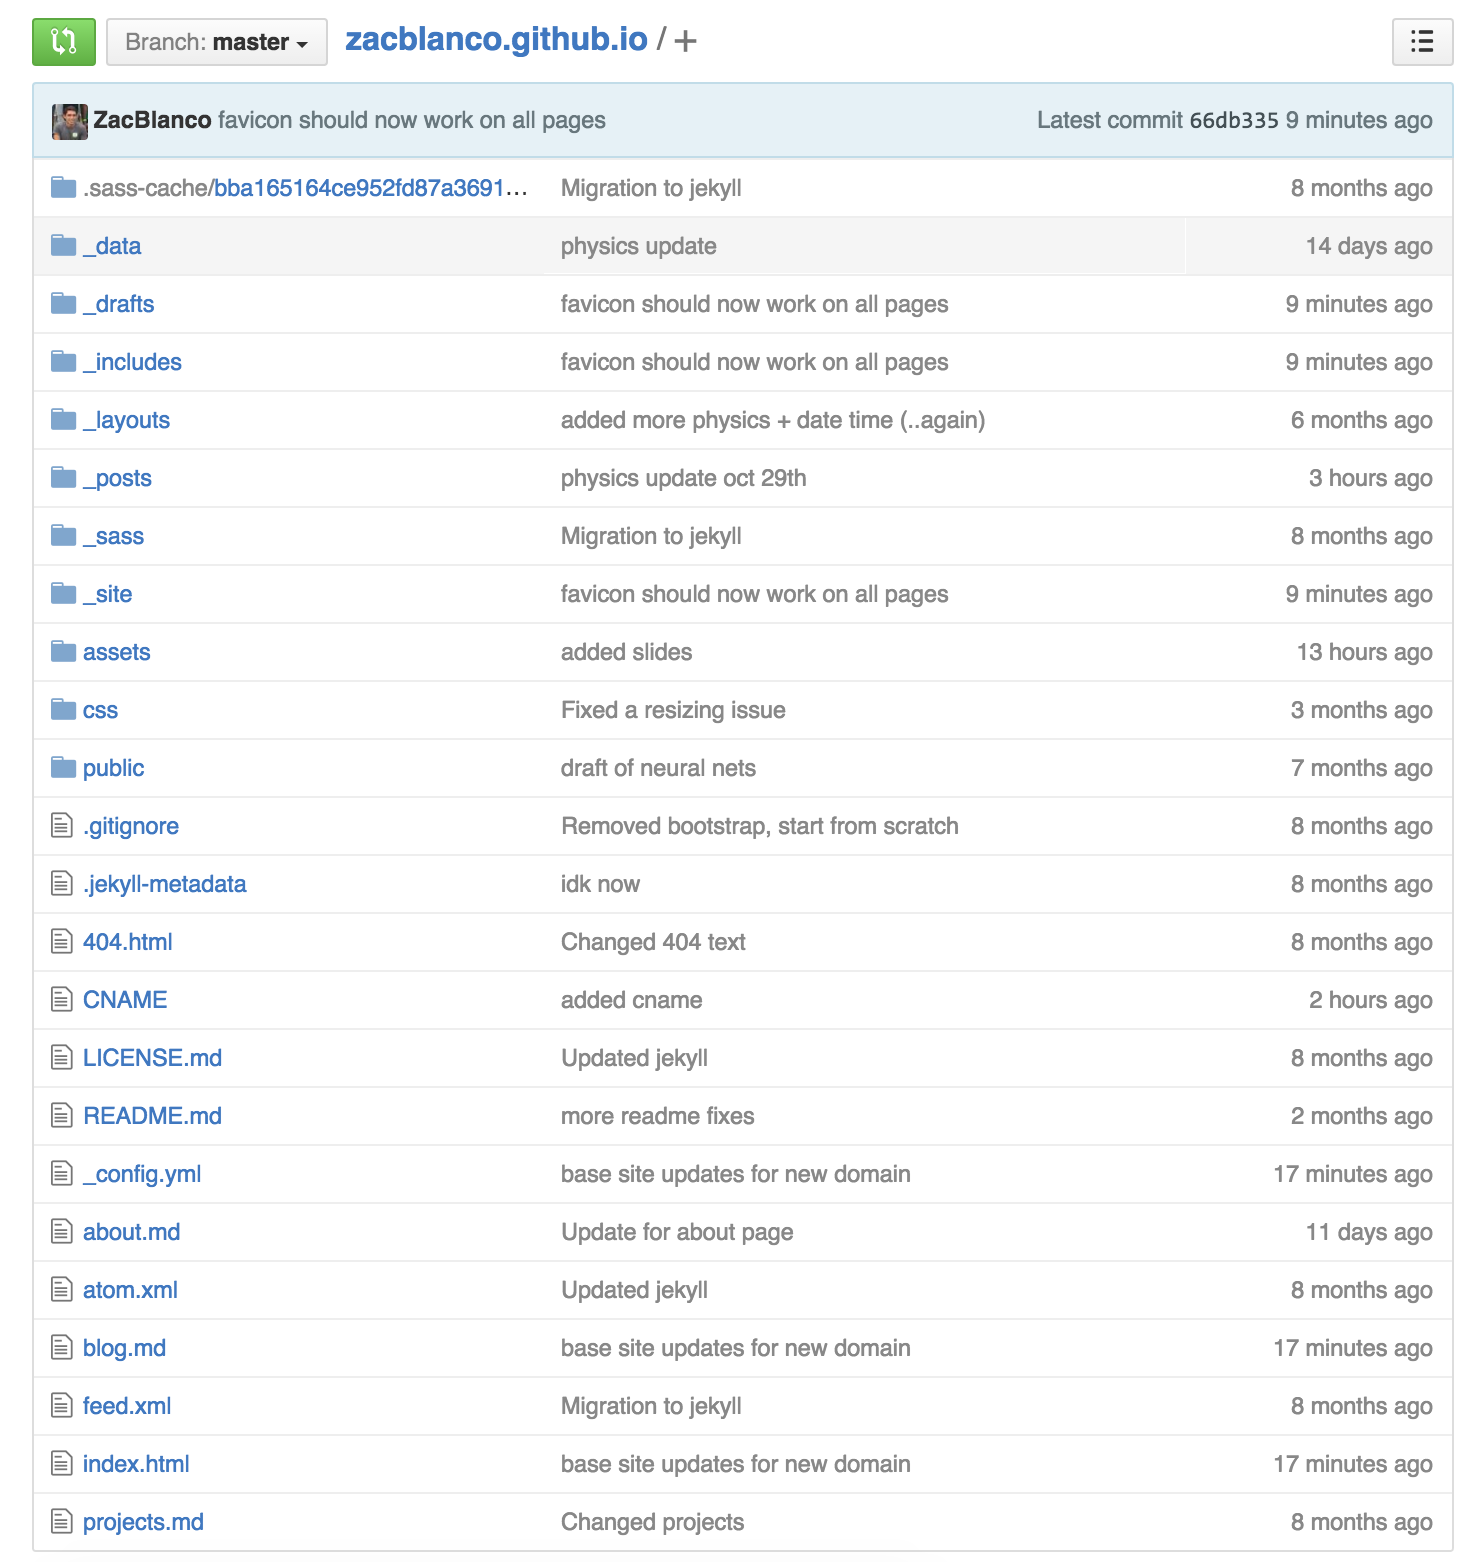
Next you’ll need to commit a new file to your github pages named CNAME. Note that on this file there is no extension. The entire file name is simply CNAME.
This file should be placed at the root of your site directory. That is at the very base of your repository (see image below)
Step 3
We’re going to now go into your domain registrars DNS settings and add two A records for your domain.
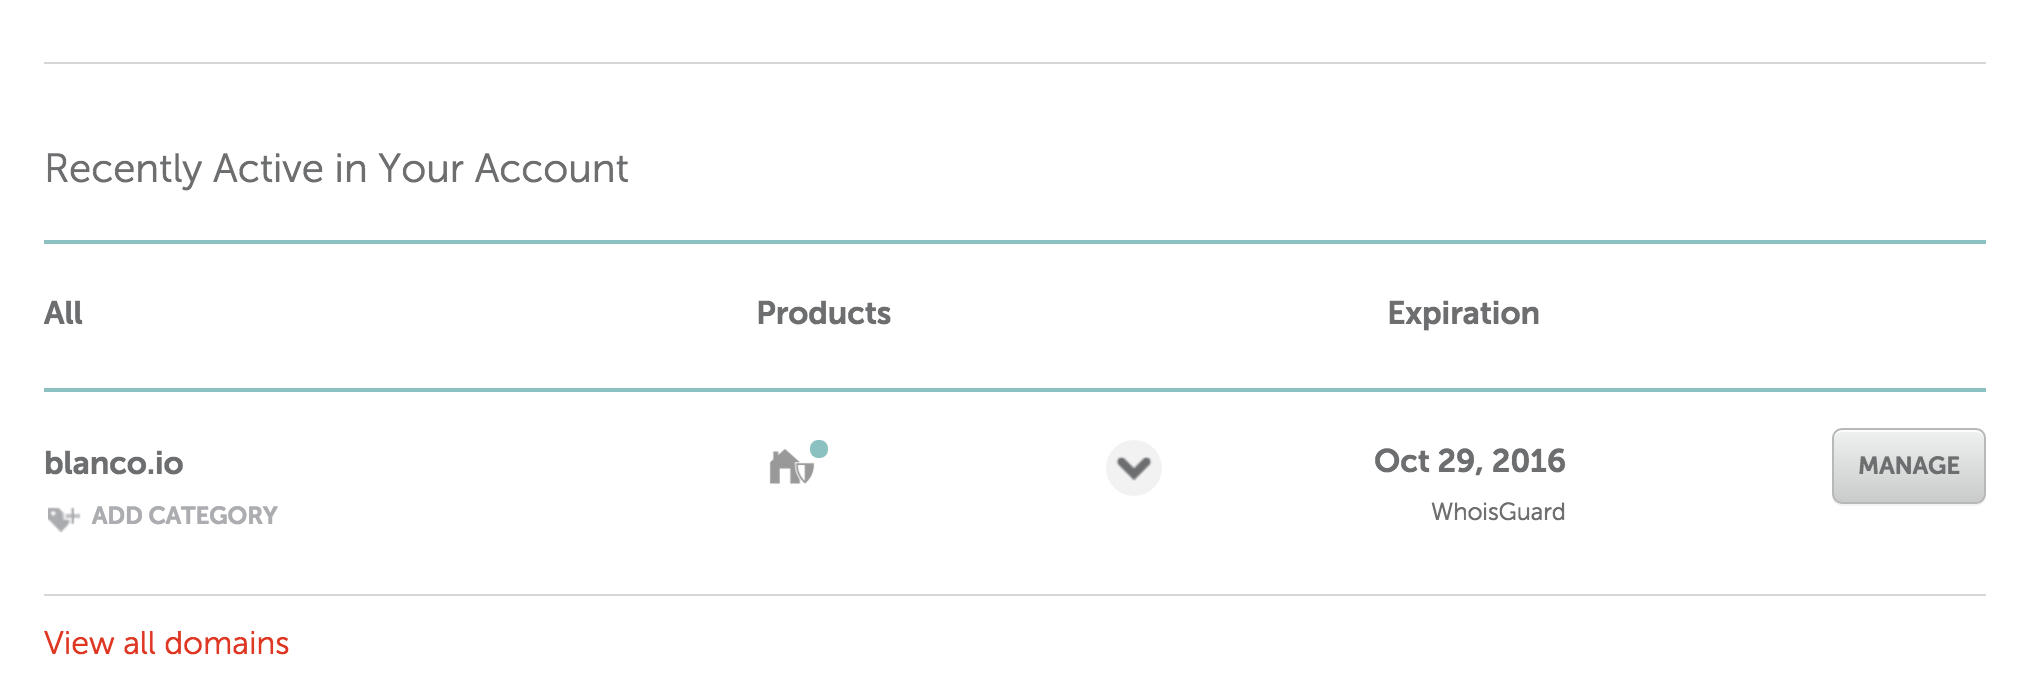
I’m using namecheap, so I’m going to head over to the dashboard and manage my domain blanco.io.
Then we’re going to go to Advanced DNS then click Add Records
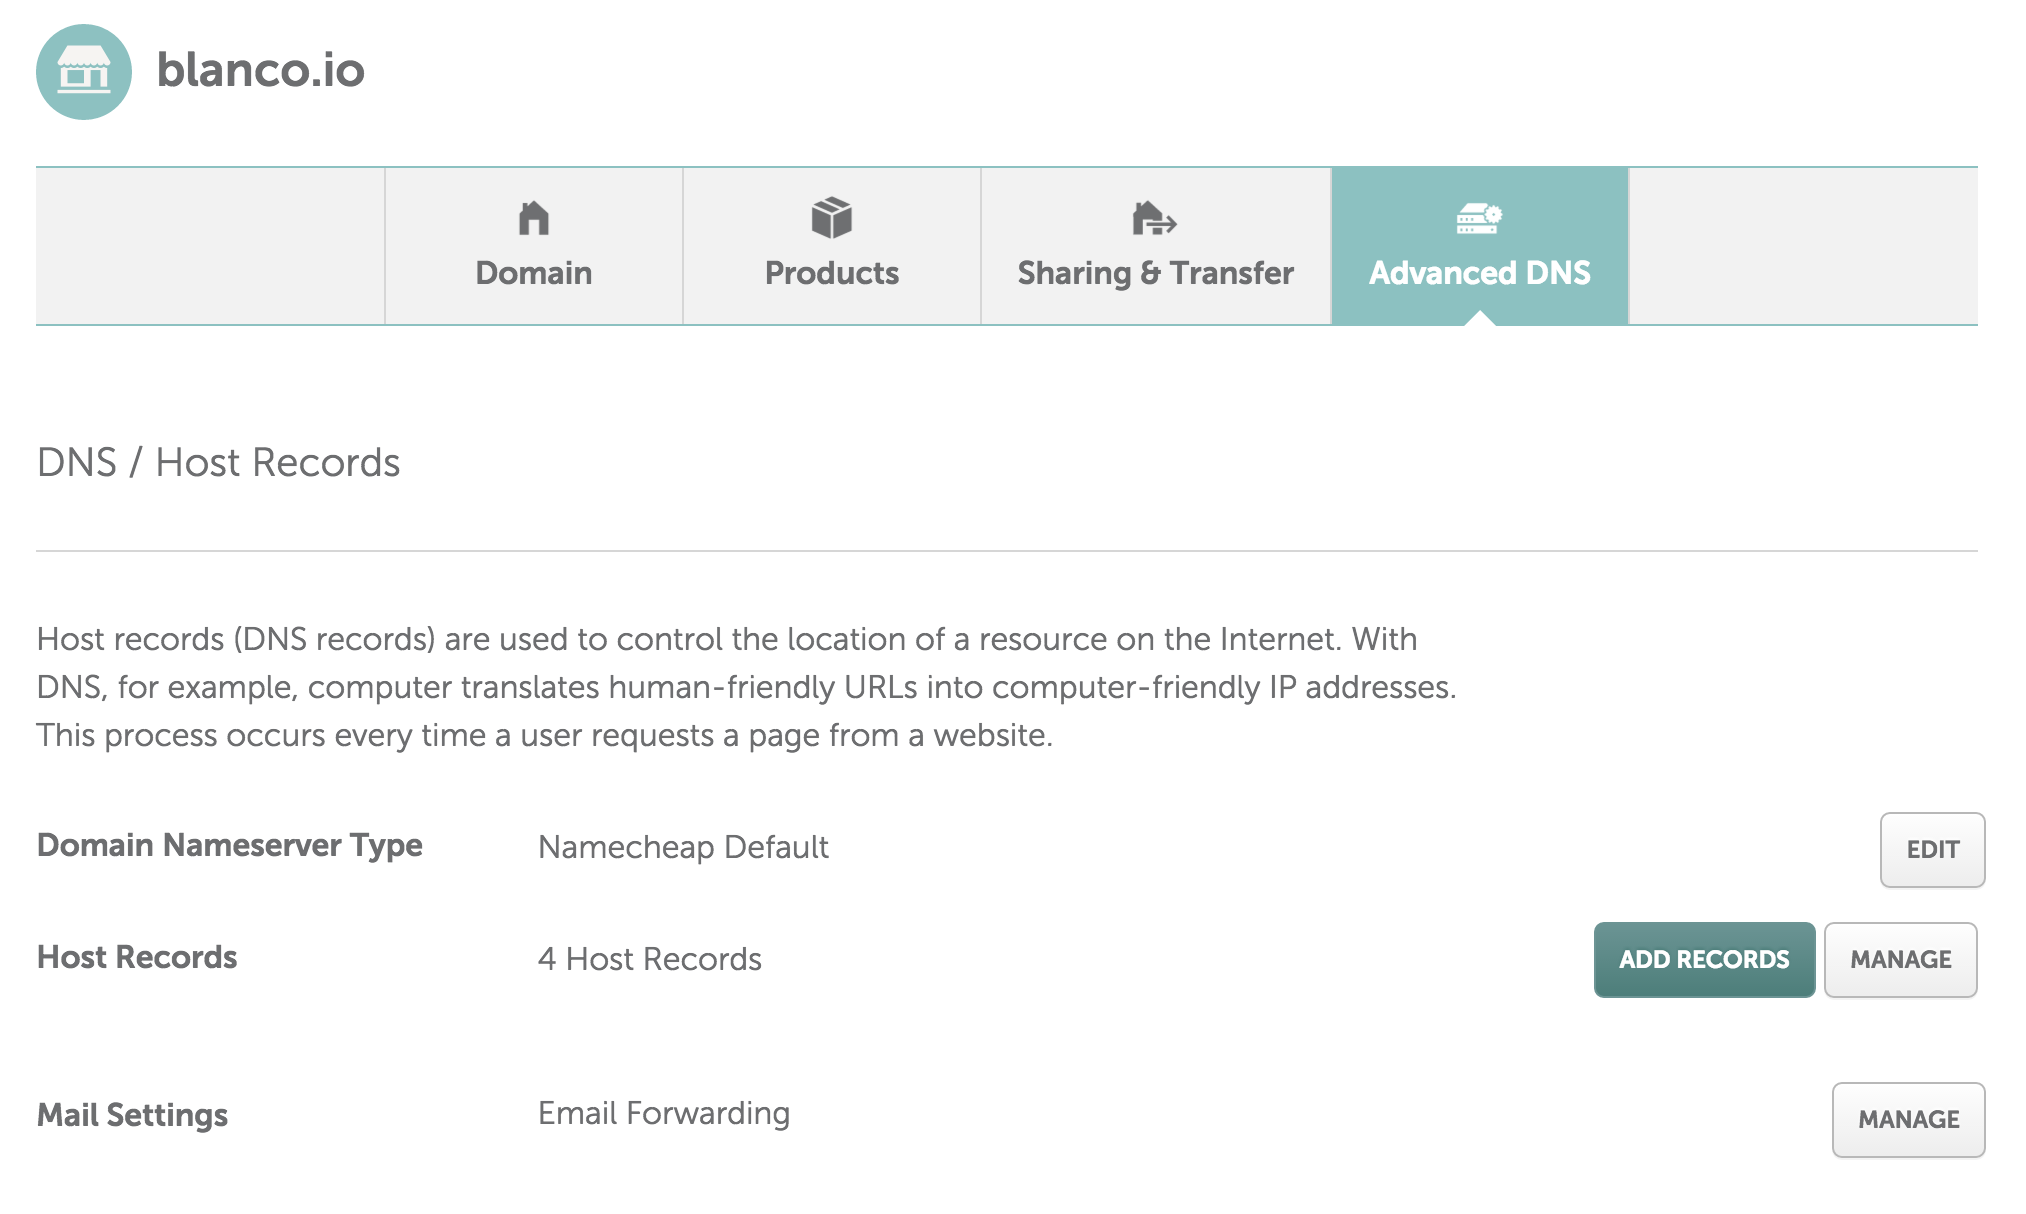
Once you’ve clicked add records, select the record type A Record.
The A Record points to the IP Address for Github. We’re going to need to add two of these. One for each IP address
Make sure you fill in the values exactly as shown below, except you will create a record for each of these IP addresses
192.30.252.153192.30.252.154

Step 4
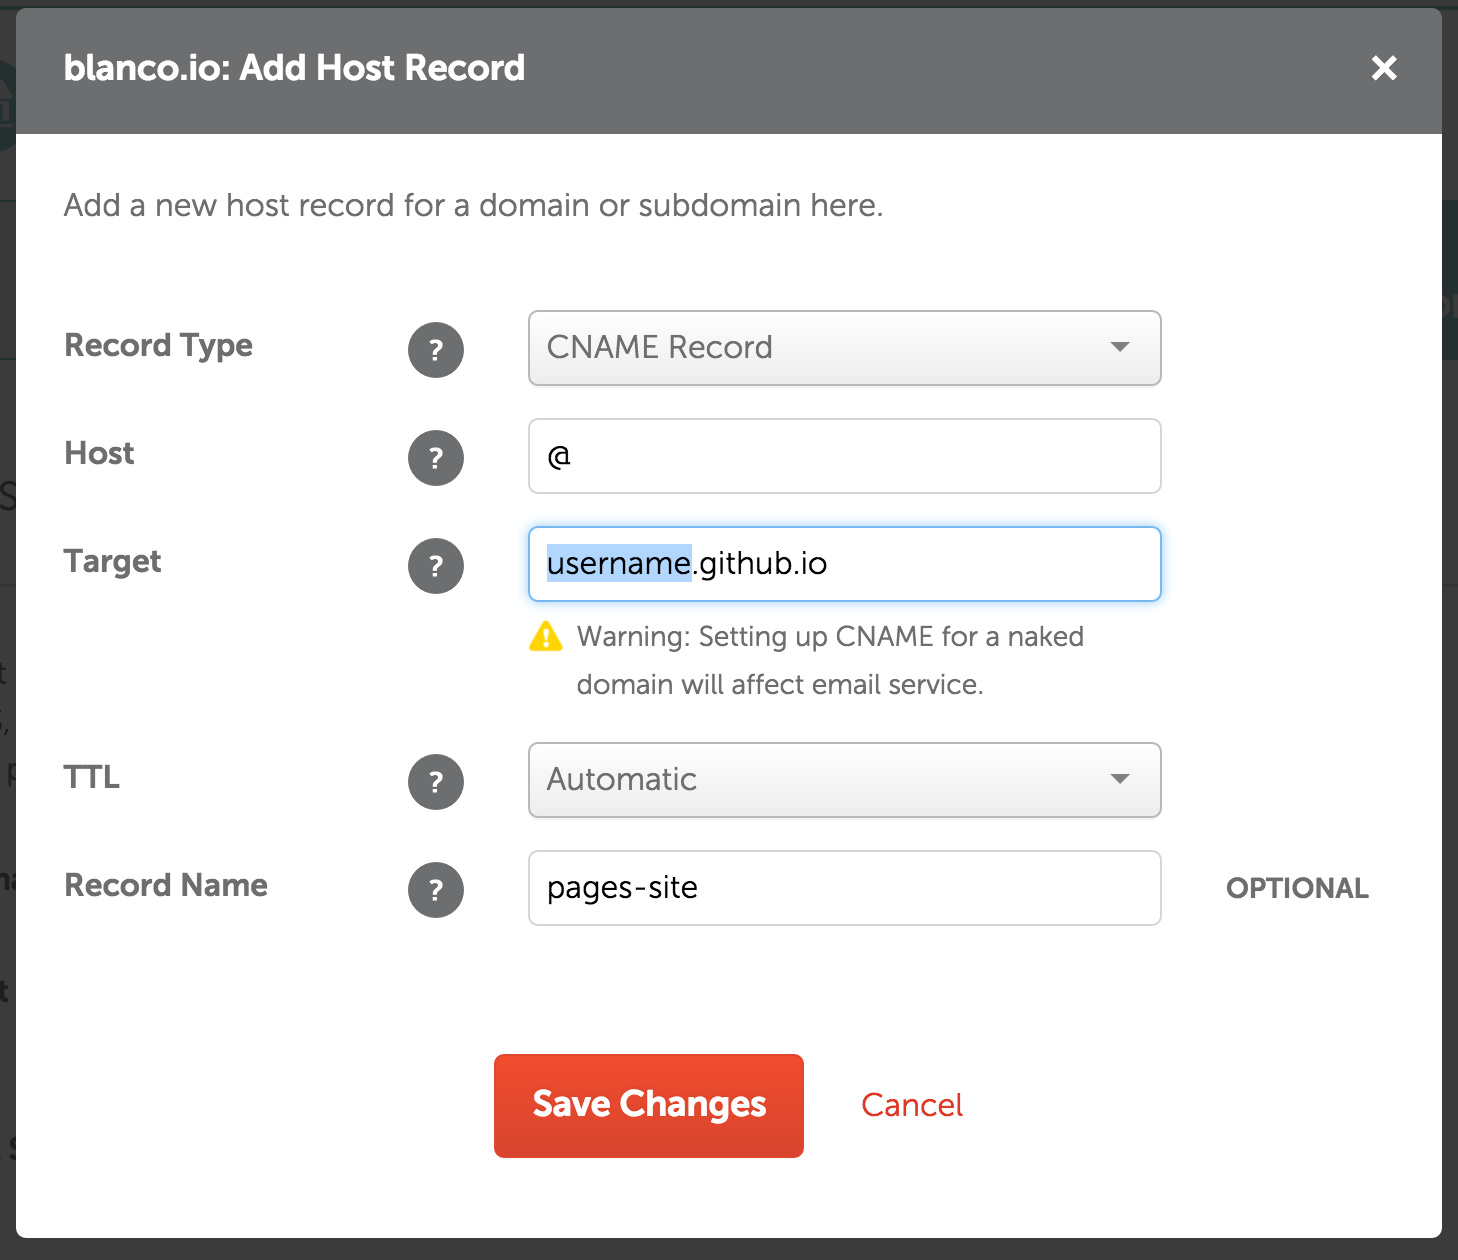
Once you’ve done that you’ll finally need to create a CNAME record that looks exactly like the one below. Except you will just need to replace username with the your github username that is the location of your current github pages site.
Lastly, make sure you have disabled any other redirects or records than may have been active before adding these records as well.
After that you should be done! If you have set the TTL (Time to Live) to Automatic, then your page should update almost instantly!
Enjoy your new custom domain :)